TIP: Change the Heading Names of existing columns FIRST, before adding new columns. This avoids inadvertent errors which may occur if you add new columns in the wrong spot.
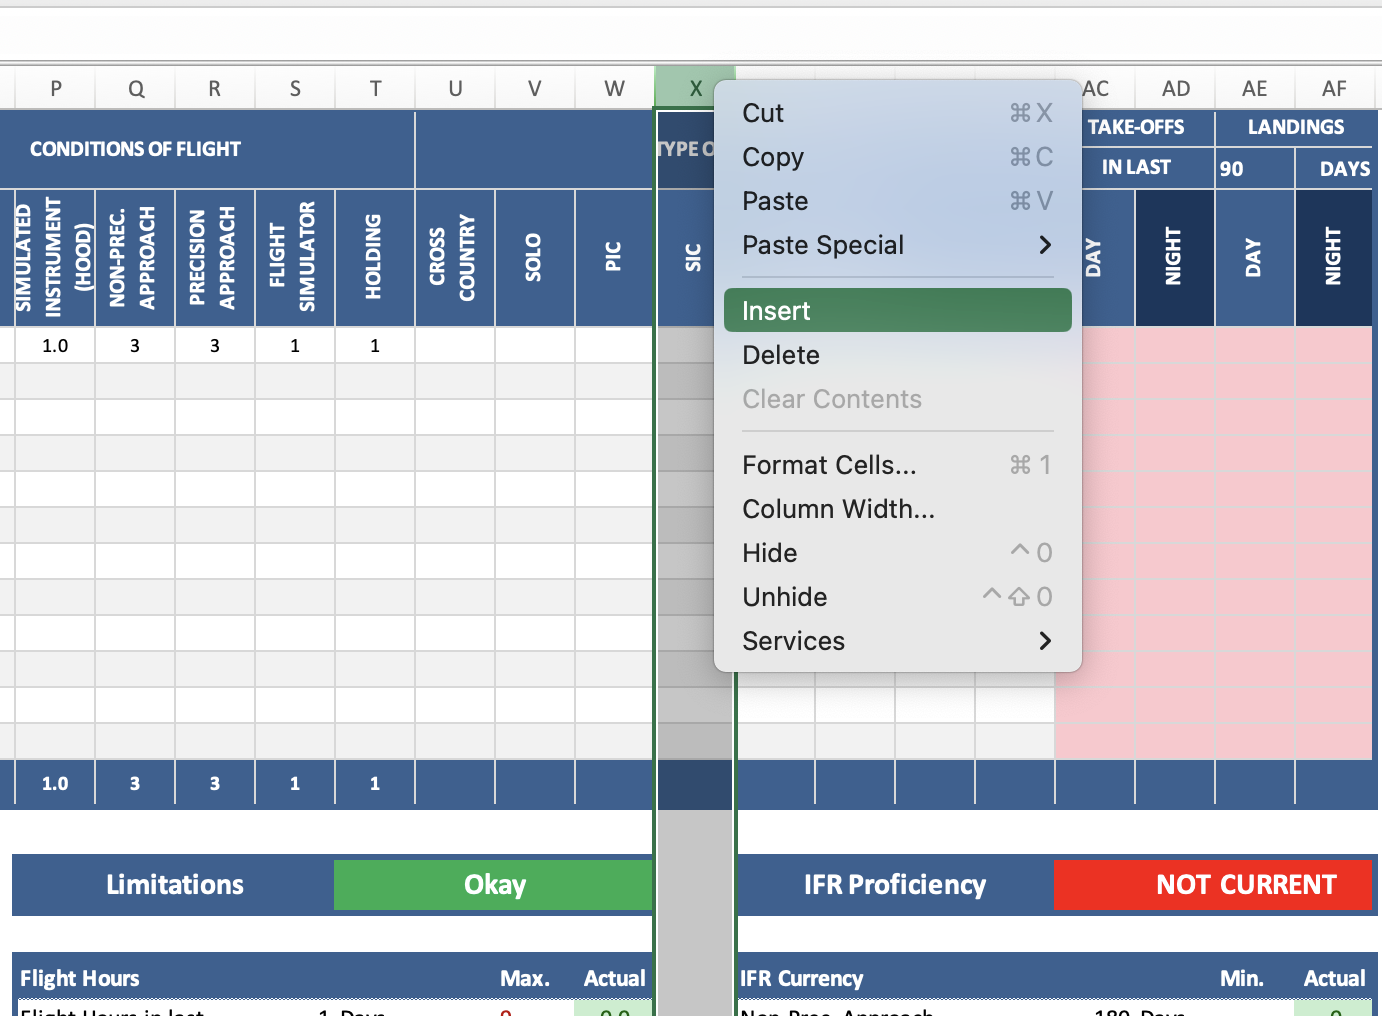
1. On the Dashboard page, click the Column letter at the top, which is in between the "IFR Currency" and "Duty Hour Limits" tables below. In this case, "X". “Right Click” on the “X” column and click “Insert” – this will insert a new column to the left.
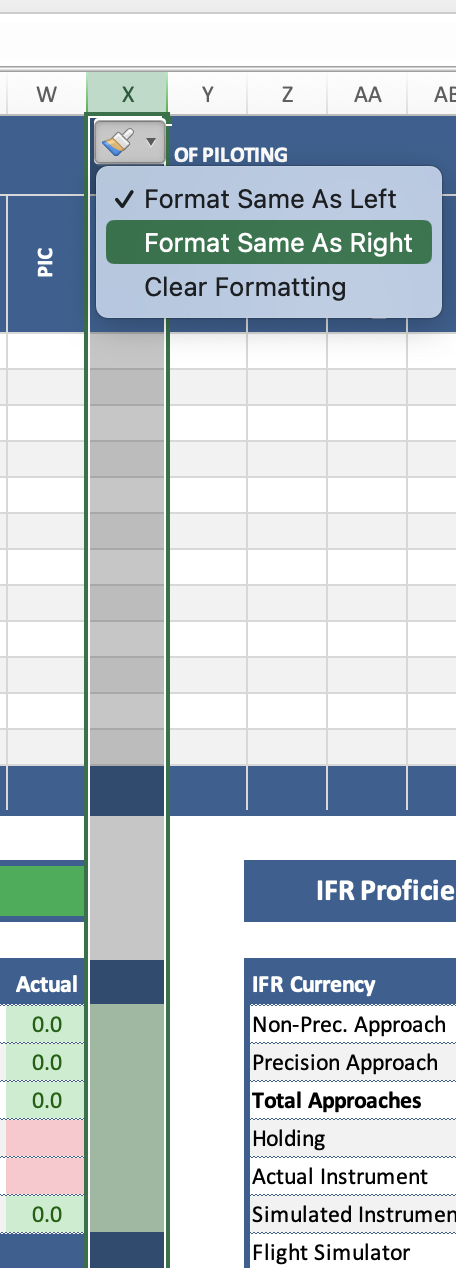
2. A new column should now be visible. Click the Paint brush icon, and select "Format Same as Right" - this ensures the colours/formatting is uniform.
3. In the column to the left of the new one you've just created, highlight the heading name and the cells in the table.
4. At the bottom of the highlighted cells, there will be a ‘small blue or green box’. Click and drag the ‘small blue box’ across to the new column. This process essentially copies the formulas into the new column and automatically adjusts them slightly to display the correct information (simply copying/pasting will not adjust them and will not work).
5. Navigate to the Logbook Entries page. Right Click on the column at the top - which shares the same name as the column you initially highlighted on the Dashboard in Step 1. Click “Insert” – this will insert a new column to the left.
6. The new column will now be visible. Click the empty ‘Column Name’ and enter the New Custom Column name.